This bracelet from V and CO is super cute and I had to figure out how to make it. I had a special event to work over the weekend, so I decided to make two bracelets in the organization’s colors. With a little bit of practice, you’ll be able to make these bracelets in no time. If you get stuck, check out this video for more information.
The biggest takeaway for this bracelet is that you really need jersey fabric to make it work well. I bought two colors thinking they were similar fabric and they couldn’t be different if they tried. When braiding the yellow bracelet, the fabric fell apart in my hand. The red bracelet came together very similar to the bracelet in the V and CO example. The two-fingered bracelet worked best for me. In doing the three or four it proved to be too big. All in all it was a super cute bracelet. I’m excited to make more for additional outfits.
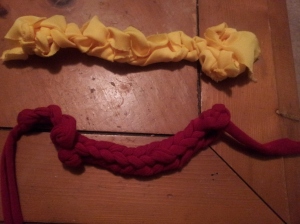
Red jersey fabric worked well as a bracelet. The yellow fabric felt similar to jersey fabric but was actually swim suit fabric and fell apart when braided.
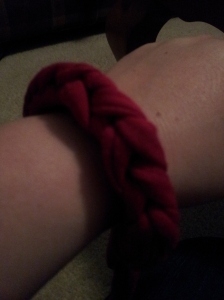
Red bracelet with two finger braiding.
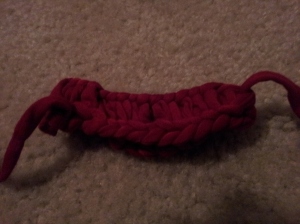
Red jersey fabric with three finger braiding